

How To Seal A Toilet
Everything you need to know about how to seal a bathroom toilet is on this page, from how to clean, apply and what mastic to use when sealing toilets.
Why Should I Seal A Toilet?
When a toilet is fitted against a wall there will be a small gap between the toilet and the wall and the floor tiles to the toilet. If these gaps are left unsealed water can seep through and cause some expensive problems down the line.
Toilets contain a large volume of water which makes them prone to leaking or potentially overflowing over the edge of the toilet lid. If water manages to seep through the small gap between the walls and floor water can stay underneath the toilet for a long period of time causing rotting, flooding and a build up of mould that can be costly and hazardous to health. Sealing these gaps with a mould resistant silicone sealant can prevent all of the above.
Another reason to seal/reseal your toilet is to make it stand out. Old sealant can start to lose its fresh look and can collect mould over time. You can remove old sealant and apply fresh high quality mould resistant sealant to spruce up your bathroom and give your toilet a brand new look.
What Do You Seal A Toilet With?
To seal a toilet with silicone sealant - you’ll need the following equipment:
-
Safety knife
-
Caulking gun
-
Mould resistant high quality silicone sealant
-
Silicone applicator tool
-
Wonder wipes
Toilet Sealants
Listed across is a range of the best toilet sealants you can use to seal your toilet, We offer these mould proof sanitary silicone sealants in our store, they come in a variety of colours and sizes to meet your needs.
What Areas Of A Toilet Do You Seal?
When sealing a toilet you want to make sure you seal all of the correct areas so there is no water leakage.
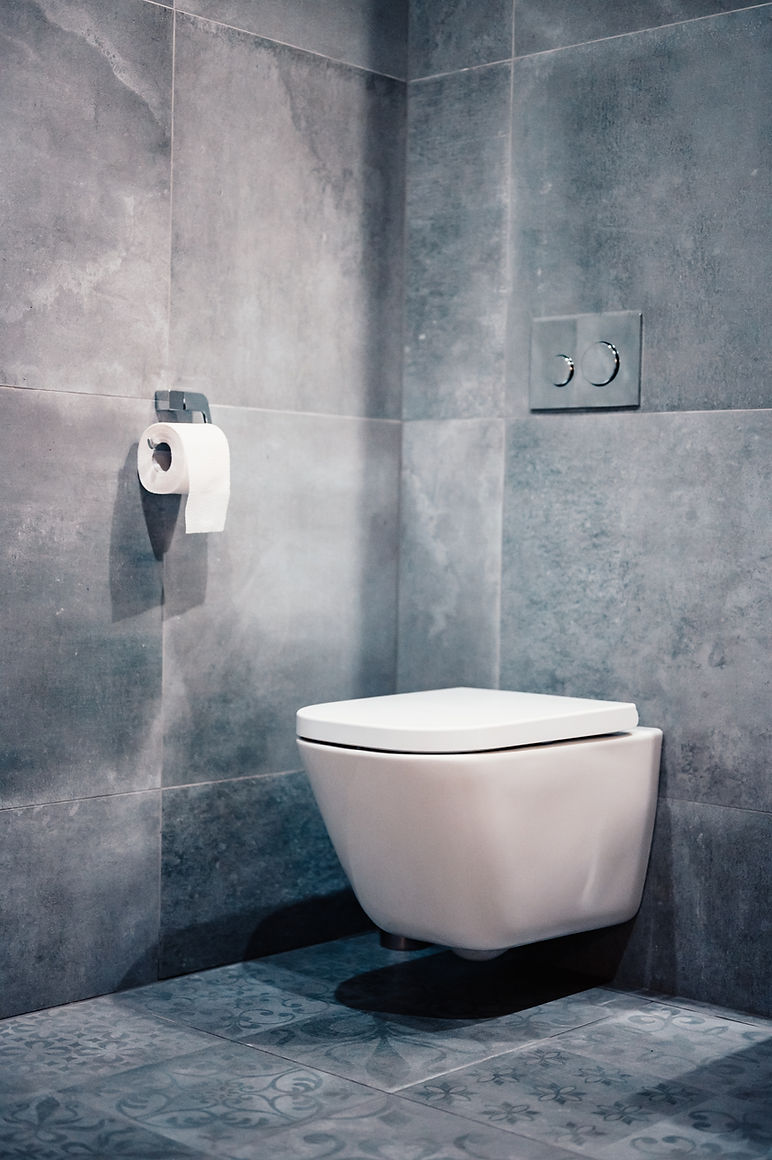
Toilet - When sealing the toilet you need to seal the whole perimeter of the toilet that is butted up against, along the top, the sides and finally the bottom of the toilet.
How To Seal A Toilet
Step By Step
Once you’ve got your equipment and tools, it’s time to start sealing your toilet.
Preparing the Silicone
Firstly you are going to want to find the correct mildew resistant silicone sealant from a shop. There are many good brands out there to choose from, Dow Sil is a high quality brand you can use to find the correct mastic for your toilet.
use your Stanley knife to cut the silicone sealant tube open. Before attaching the head or nozzle of the silicone, cut the tip as close to a 45-degree angle as possible, this will make applying it much easier and neater. Then place the silicone into the caulking gun and pull the trigger slowly until you feel a bit of resistant so that the tube is securely in the gun and will not fall out.
Clean the surface
You need to make sure that before applying the silicone that the surface has no dust, residue, water or old silicone if reapplying. You can wipe the surface down where silicone will be applied but you need to make sure it is then dried afterwards because silicone will not bond to a wet surface.
Apply the sealant
Get as close as possible to the edge of the area you want to seal, and then apply the silicone by pressing the caulking gun trigger. In a smooth movement, begin from one end and work you way to the other end. Do not touch the sealant once you have have applied until you have sealed the whole area. When finished Applying click the leaver on the back of the sealant gun to loosen the tube and stop sealant from oozing out the nozzle. Cover the end of the nozzle so no excess sealant spills on the floor.
Smoothing the sealant
Now spray the sealant you have applied with water (Water helps remover the excess sealant and stops it from sticking), then grab your sealant tool and attach the correct head onto it with the rounded radius you desire. Start from one end by putting the flat edge onto the floor tiles and then gently pushing the tool up against the corner, then slowly glide along the sealant bead keeping one edge flat. As you pulling the tool along it will be taking up excess sealant so have a paper towel ready so when the sealant builds up you can bring the tool away from the area and wipe off the excess sealant and start back where you left off until the perimeter of sealant is complete. You can only really use the sealant tool on a flat surface when sealing the sides and top of the toilet you can use the same technique but instead use your finger to smoothen sealant. Your toilet should now be sealed properly. you may want to have a look over and run the tool over any bits and are a bit wider or need slight touching up. If there are gaps this is no problem you can re apply and start the process again in that small area.
Give the sealant 24 hours to cure do not run any water or disturb the sealant during this time.
Removing Old Toilet Sealant
To remove old sealant you will need a Stanley Knife a small scraping tool, sealant remover and some sort of cloth.
Start by running the Stanley blade down the centre of the sealant, next scrape away as much sealant as you possibly can using the scraper (be carful not to damage the toilet or tiles whilst doing this). Apply the sealant remover to the left over bits of sealant and leave it for 15 minutes.
Now you can rub over the sealant with a cloth and it should peel away quite easily.
The sealant removing process is a lot more time consuming than applying sealant. Once you have finished removing all sealant you can now clean down the area and re apply.